Using SCIM to push Users and User Groups into Universal ZTNA requires the
creation of an Enterprise Application in Entra ID. Use this task to configure System
for Cross-domain Identity Management (SCIM) provisioning in Microsoft Entra ID.
-
Log in to Microsoft Entra ID and
go to .
-
Select Create your own application. Name the application
with Provisioning in the title so that itcan be easily located. Select the
Non-gallery option.
-
Select Properties for the application and toggle
Assignment Required to Yes and
Visible to Users to No then
select Save.
-
Select Users and groups and assign the User groups that
should be included in Universal ZTNA.
-
Select .
-
Select Automatic from the Provisioning
Mode drop-down list.
-
In Universal ZTNA go to .
-
Under Provisioning, select Entra ID Syncing
credentials and copy the Tenant URL and Secret
Token.
-
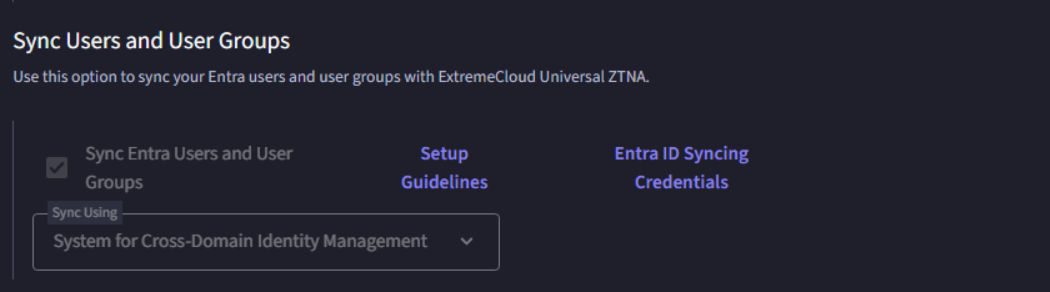
Under Sync Users and User
Groups select the Sync Entra ID Users and User
Groups check box.
-
Under Sync select
System for
Cross-Domain Identity Management (SCIM) from the drop-down
list.
-
Select Validate and
Update
to save the changes.
-
In Microsoft Entra ID, under
Admin
Credentials, paste the Tenant URL and Secret Token and select
Test
Connection.
-
Select Provision Microsoft Entra ID Users.
-
On the Attributes Mapping page and complete the
following:
-
Under Source Object Scope, select All
records.
-
Select Add new filter group.
-
In Add Scoping
Filter, select mail as
the source attribute. The mail attribute needs to exist for the user to
be imported into Universal ZTNA. If the desire is
to only have corporate email accounts imported into Universal ZTNA, matching on the
email extension for the organization will work. For this example, select
INCLUDES as the operator and the email domain as the
clause value.
-
Name the scoping filter and select Apply.
-
In the resulting screens, select Apply and
Save to save the filter to the provisioning
profile.
- Optional:
Under Settings, there is a section for Scope
now. If there is not, refresh the webpage. The default action is
to only synchronize groups that are assigned to this application. To synchronize
all groups in the Entra ID, change the Scope to Sync all
users and groups.
-
Go to Provisioning and set Provisioning
Status to On.
-
Provisioning can take up to an hour to start. If desired Provision
on Demand can be selected from the Provisioning Overview to
immediately start a provisioning cycle.
-
Select the group or users to provision at that moment.
-
Once provisioning is complete, the logs can be reviewed in case there were
issues provisioning.